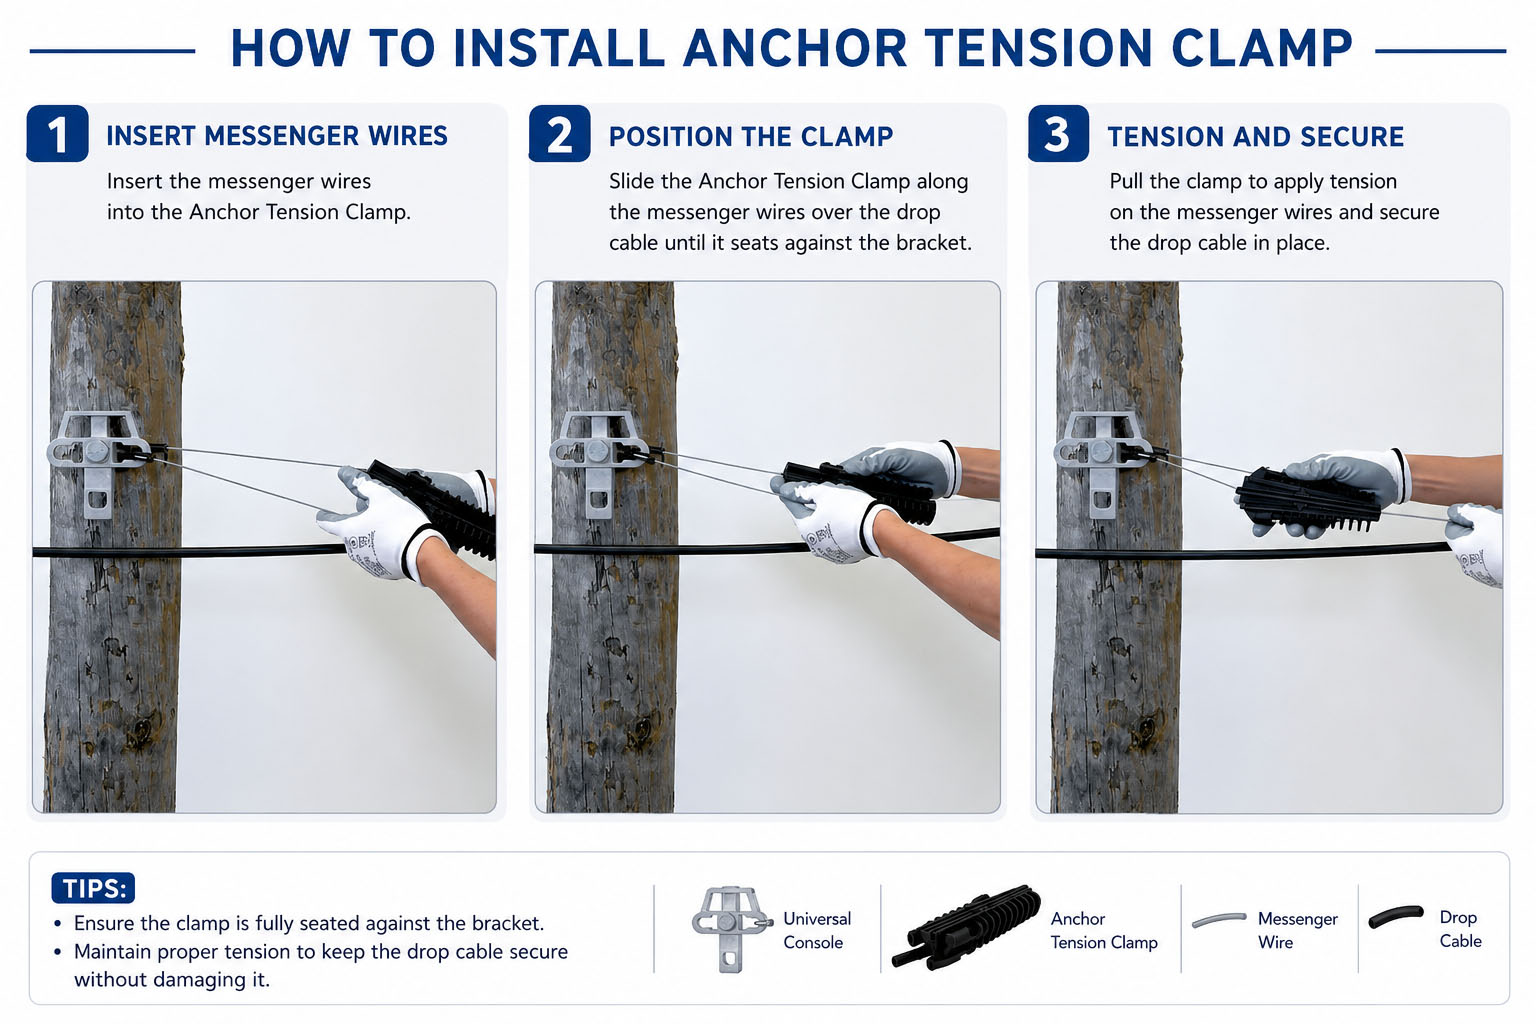
When you build or maintain an aerial cable network, proper cable tension is critical. An incorrectly installed anchoring clamp can lead to cable sagging, signal disruption, or even costly infrastructure damage. Fortunately, installing an anchoring clamp is straightforward when you follow the correct procedure.
In this guide, you will learn how to install an anchoring clamp safely and efficiently. Whether you are working with fiber optic cables, ADSS cables, or drop wire systems, these practical steps will help you achieve a secure and long-lasting installation.
Tools and Materials You Need
Before installation, prepare the following tools and materials:
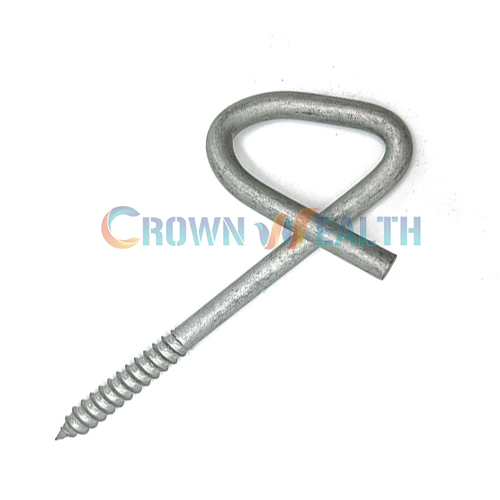
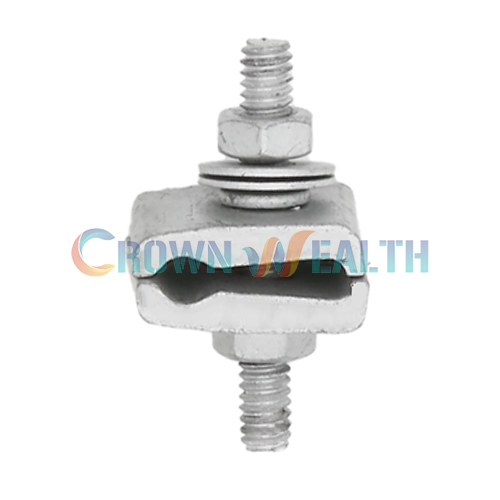
- Anchor tension clamp
- Aerial cable or drop cable
- Pole bracket or hook
- Safety gloves
- Safety helmet
- Cable tensioning tool
- Ladder or aerial lift (if required)
Using the right tools helps you complete the installation safely and efficiently.
Step-by-Step Guide to Install an Anchor Tension Clamp
Step 1: Inspect the Clamp and Cable
First, examine the utility pole, wall bracket, or support structure.
Look for:
- Structural stability
- Corrosion or damage
- Proper mounting position
- Safe working clearance
At the same time, inspect the cable for cuts, cracks, or other defects. Installing damaged cables can compromise the entire system.
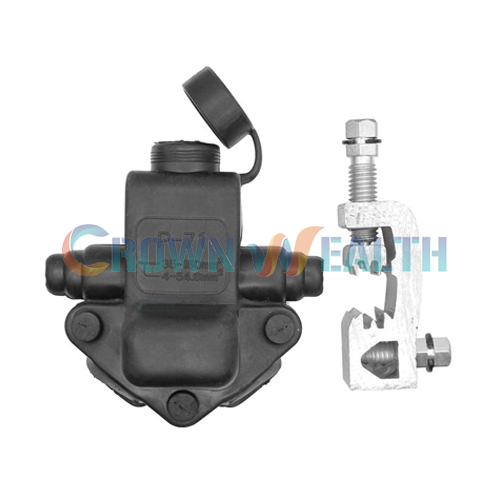
Step 2: Attach the Pole Bracket
Next, securely install the pole bracket or suspension hook.
Depending on the project requirements, you may use:
- Stainless steel banding
- Bolts and nuts
- Pole mounting hardware
Ensure the bracket is firmly fixed because it will carry the cable tension load throughout its service life.
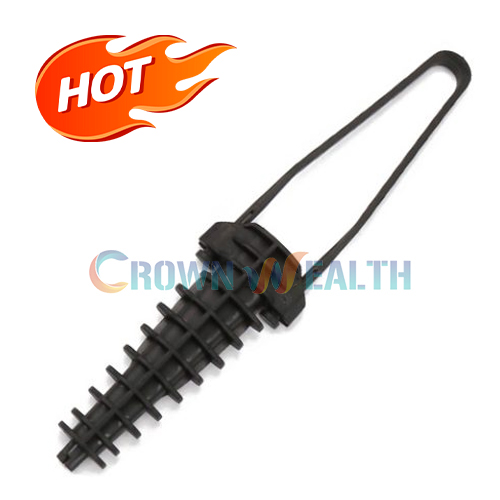
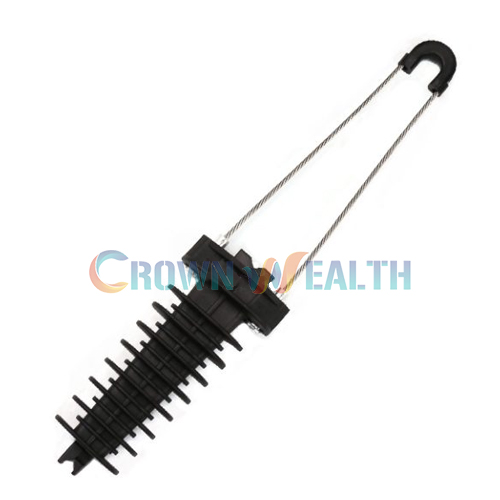
Step 3: Prepare the Anchoring Clamp
Now, open the anchoring clamp according to the manufacturer’s instructions.
Most modern anchoring clamps feature:
- Self-adjusting wedges
- UV-resistant polymer bodies
- Stainless steel bail
Before inserting the cable, verify that all clamp components are clean and undamaged.
Step 4: Insert the Cable into the Clamp
Carefully place the cable inside the clamp body.
As you insert the cable:
- Ensure proper alignment
- Avoid twisting the cable
- Maintain the recommended bend radius
- Keep the cable jacket intact
Proper positioning is essential because uneven tension may reduce cable performance over time.
Step 5: Secure the Cable with the Wedges
Once the cable is positioned correctly, allow the wedges to grip the cable.
The self-locking mechanism automatically increases holding force as tension increases.
At this stage:
- Check that the cable is centered
- Confirm that the wedges engage evenly
- Verify that no conductor or fiber is exposed
This step creates the mechanical connection that keeps the cable firmly anchored.
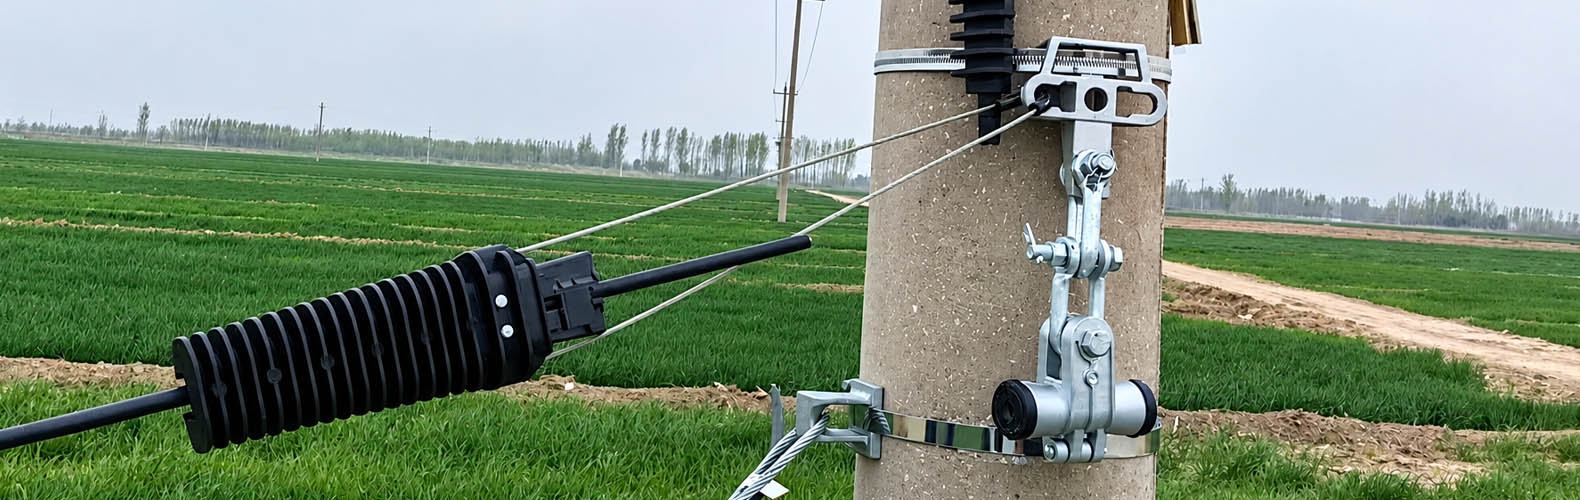
Step 6: Connect the Clamp to the Bracket
After securing the cable, attach the clamp’s bail or loop to the installed pole bracket.
Make sure:
- The connection point is fully engaged
- The clamp hangs freely
- No sharp edges contact the cable
A properly connected anchoring clamp distributes mechanical loads more effectively and minimizes wear.
Step 7: Apply the Correct Cable Tension
Next, use a tensioning tool to achieve the specified cable tension.
Avoid two common mistakes:
Over-Tensioning
Excessive tension can:
- Damage fibers
- Stretch conductors
- Reduce cable lifespan
Under-Tensioning
Insufficient tension can:
- Cause cable sagging
- Increase wind-induced movement
- Create maintenance issues
Always follow the cable manufacturer’s recommended tension values.
Step 8: Perform a Final Inspection
Before completing the installation, conduct a thorough inspection.
Check the following:
- Clamp position
- Cable alignment
- Bracket stability
- Tension accuracy
- Overall safety
Additionally, gently pull the cable to verify that the anchoring clamp maintains a secure grip.
Common Installation Mistakes to Avoid
Even experienced technicians occasionally make installation errors.
To achieve the best results, avoid:
Using the Wrong Clamp Size
Always match the clamp to the cable diameter specified by the manufacturer.
Ignoring Environmental Conditions
High winds, ice loads, and temperature fluctuations can affect cable tension.
Skipping Safety Checks
Never rush the inspection process. A few extra minutes can prevent expensive repairs later.
Damaging the Cable Jacket
Protecting the cable jacket is essential for maintaining long-term performance.
Why Quality Anchoring Clamps Matter
The quality of your anchoring clamp directly impacts network reliability.
A premium clamp provides:
- Strong mechanical retention
- Corrosion resistance
- UV protection
- Long service life
- Reduced maintenance costs
This is why many network installers choose Hbcrownwealth anchoring clamps for FTTH, telecom, and utility infrastructure projects.
Applications of Anchoring Clamps
Anchoring clamps are widely used in:
- FTTH networks
- Fiber optic deployments
- ADSS cable installations
- Power distribution lines
- Telecommunications infrastructure
- Utility pole systems
Their versatility makes them one of the most important components in aerial cable installations.
Conclusion
Proper installation of an anchor tension clamp is essential for maintaining a secure and reliable aerial fiber optic system. By following the correct installation steps, you can improve network performance, reduce maintenance, and protect your fiber optic cables for long-term outdoor use.
If you are looking for dependable aerial fiber accessories, Hbcrownwealth provides professional solutions designed for demanding telecom applications.