English
 Spanish
 French
 Arabic
A J hook suspension clamp gives you a simple and reliable way to support ADSS and other compatible aerial fiber optic cables on utility poles.
When you build an overhead telecom or fiber optic network, you normally use a J hook suspension clamp at intermediate poles. It supports the cable, helps maintain the designed cable route, and reduces concentrated mechanical stress on the cable jacket.
How to Install a J Hook Suspension Clamp?

Step 1: Determine the Installation Position
First, identify the correct mounting point on the utility pole.
The suspension point should allow the cable to follow its designed route without unnecessary twisting or sharp bending.
You should also check the required installation height and cable clearance.
Step 2: Install the J Hook on the Pole
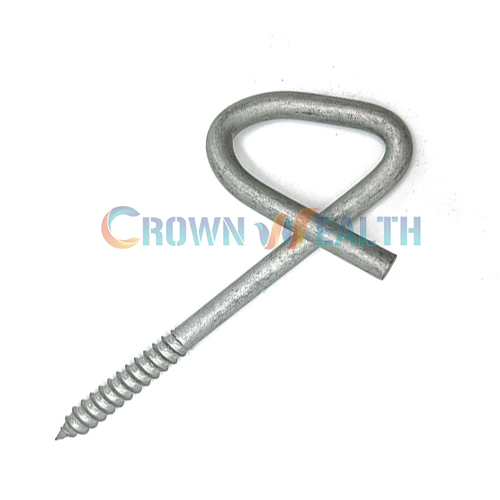
Next, secure the J hook to the utility pole.
Depending on your project, you may use:
- Stainless steel banding
- Pole brackets
- Bolts
- Pole straps
- Other compatible pole line hardware
If you use stainless steel banding, pass the band through the J hook mounting section or matching bracket.
Then wrap the band around the pole and tighten it with the correct banding tool and buckle.
Make sure the J hook sits firmly against the pole.
Step 3: Open the Suspension Clamp
Loosen or remove the fixing bolt according to the clamp structure.
Then open the clamp body.
If the clamp includes a removable rubber or neoprene insert, carefully position it for cable installation.
Avoid damaging or twisting the insert.
Step 4: Place the Cable Into the Clamp
Place the ADSS or fiber optic cable inside the protective insert.
Make sure the cable sits naturally in the groove.
Do not force an oversized cable into a smaller clamp.
Likewise, do not use a clamp with an excessively large cable range.
Correct matching helps you achieve more stable cable support.
Step 5: Close and Tighten the Clamp
Close the clamp body and reinstall the fixing bolt.
Then tighten the fastening hardware securely.
However, do not over-tighten the clamp.
Your goal is to hold the cable securely while allowing the protective insert to distribute pressure around the cable surface.
Step 6: Connect the Clamp to the J Hook
Position the suspension clamp correctly on the J hook.
Make sure the clamp hangs naturally and follows the cable direction.
You should avoid twisting the clamp or forcing the cable into an unnatural position.
Step 7: Check the Cable Sag and Alignment
After installation, inspect the cable on both sides of the pole.
The cable should maintain the required sag and follow a smooth route.
You should not see sharp bends, excessive twisting, or abnormal compression around the suspension point.
Step 8: Perform a Final Inspection
Finally, check the complete installation.
Confirm that:
- The J hook is securely mounted
- The suspension clamp is properly connected
- The cable sits correctly inside the insert
- The bolts are tightened correctly
- The cable jacket is not damaged
- The cable maintains a smooth route
- Stainless steel banding is secure
- The clamp is correctly aligned
Once you complete these checks, your installation is ready.
Why Choose Hbcrownwealth J Hook Suspension Clamps?
When you purchase pole line hardware for a telecom or fiber optic project, you need stable quality, correct dimensions, reliable materials, and consistent production.
Hbcrownwealth supplies J hook suspension clamps, ADSS suspension clamps, fiber optic suspension clamps, anchor clamps, stainless steel banding, pole brackets, and other pole line hardware for overseas telecom and utility projects.