English
 Spanish
 French
 Arabic
Installing stainless steel strapping correctly is essential for securing pole line hardware, telecommunications equipment, traffic signs, utility boxes, and industrial components. However, many installers struggle with loose bands, uneven tension, or time-consuming installation methods that reduce productivity.
The good news is that you can significantly improve both installation speed and long-term reliability by using the right materials, tools, and techniques.
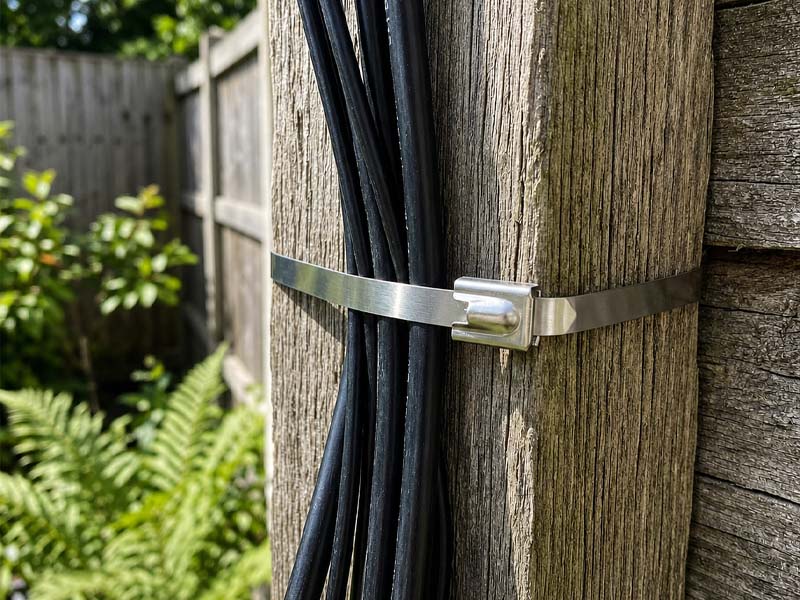
In this guide, you will learn how to install stainless steel strapping faster and more securely while reducing installation errors and extending the service life of your fastening system.
Why Proper Stainless Steel Strapping Installation Matters
A stainless steel strapping system is designed to withstand heavy loads, vibration, corrosion, and harsh outdoor environments. However, even high-quality stainless steel bands can fail if they are installed incorrectly.
Poor installation may lead to:
- Loose hardware on utility poles
- Equipment movement caused by vibration
- Premature buckle failure
- Uneven band tension
- Increased maintenance costs
- Reduced service life
By following proper installation practices, you can improve safety, reduce maintenance, and ensure reliable performance for years.
Step 1: Choose the Right Stainless Steel Strapping
Before installation, select a stainless steel band that matches your application.
Several factors should influence your decision, including:
- Load requirements
- Pole diameter
- Outdoor environment
- Corrosion exposure
- Equipment weight
For coastal areas or chemical environments, choose Grade 316 stainless steel strapping because it offers superior corrosion resistance.
For most utility, telecommunications, and industrial installations, Grade 304 stainless steel strapping provides excellent strength and durability at a competitive cost.
Selecting the correct material from the beginning helps prevent unnecessary failures later.
Step 2: Prepare the Installation Surface
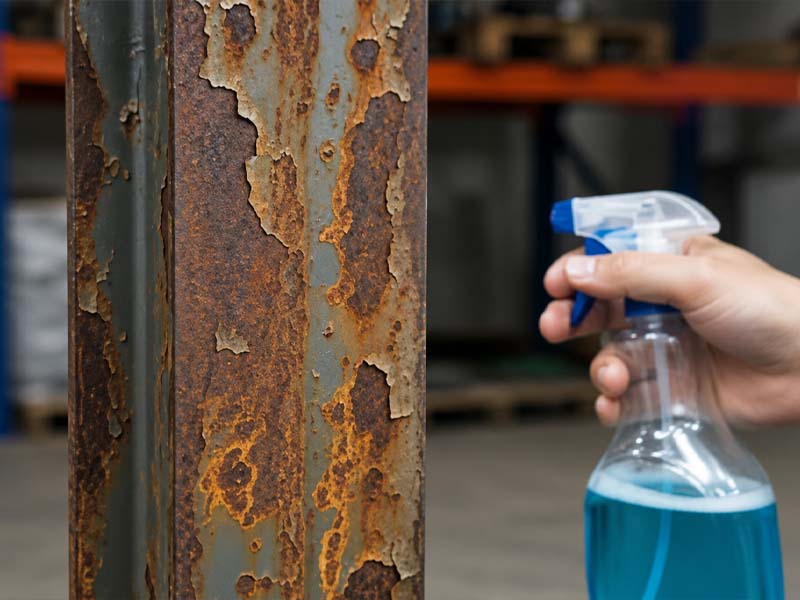
A clean installation surface allows the stainless steel band to sit evenly against the pole or structure.
Before wrapping the band:
- Remove loose rust.
- Clean dirt and grease.
- Eliminate sharp edges.
- Check for damaged mounting brackets.
Preparing the surface reduces the risk of uneven tension and improves the stability of the completed installation.
Step 3: Use the Right Banding Tool
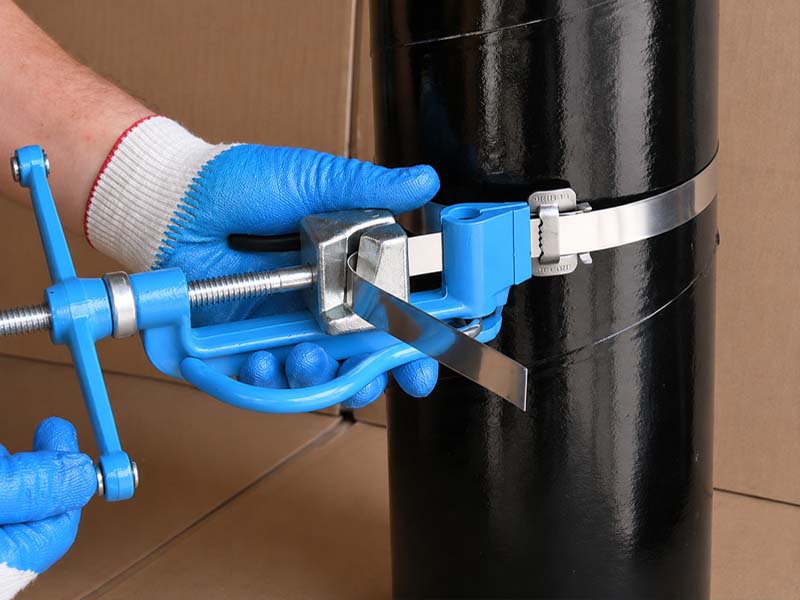
The installation tool has a major impact on both speed and fastening quality.
Professional banding tools apply consistent tension while reducing operator fatigue.
Instead of tightening the band manually, use a dedicated stainless steel banding tool that can:
- Apply uniform tension
- Cut the band cleanly
- Lock the buckle securely
- Reduce installation time
- Improve installation consistency
Using the proper tool also minimizes material waste and helps maintain a professional appearance.
Step 4: Apply Proper Tension
Many installation problems occur because the band is either too loose or excessively tight.
If the tension is too low, the mounted equipment may shift over time.
If the tension is too high, the band or buckle may deform, reducing its long-term reliability.
Instead, tighten the stainless steel strapping until the mounted component is firmly secured without overstressing the material.
Consistent tension creates a stronger and more reliable installation.
Step 5: Secure the Buckle Correctly
The buckle plays a critical role in the overall strength of the fastening system.
After applying the correct tension, fold and lock the band according to the buckle manufacturer’s recommendations.
Then inspect the buckle carefully.
Make sure it:
- Sits flat against the band.
- Shows no visible deformation.
- Holds the band securely.
- Does not allow movement after tightening.
A properly installed buckle significantly improves installation safety and durability.
Step 6: Trim Excess Band Safely
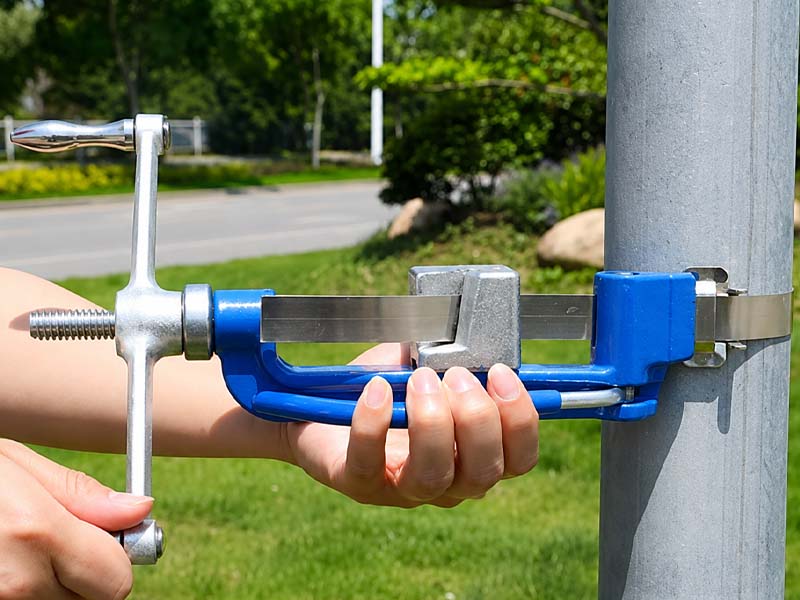
After locking the buckle, trim the remaining band using the cutting function of the banding tool.
Avoid leaving long sharp edges because they can:
- Injure installers
- Damage cables
- Create safety hazards during maintenance
A clean cut not only improves safety but also gives the installation a more professional appearance.
Step 7: Inspect the Finished Installation
Before leaving the job site, perform a final inspection.
Check that:
- The band is evenly tensioned.
- The buckle is fully locked.
- The mounted equipment does not move.
- The band lies flat against the pole.
- No sharp edges remain.
- The installation meets project specifications.
Taking a few extra minutes to inspect your work can prevent costly repairs later.
Common Installation Mistakes to Avoid
Even experienced installers occasionally make mistakes that reduce installation quality.
Avoid these common problems:
Using the Wrong Band Width
Choose the correct width and thickness for the expected load.
Reusing Old Buckles
Always install new buckles to ensure reliable performance.
Overtightening the Band
Excessive tension may damage both the band and the buckle.
Skipping Surface Preparation
Installing over dirt or corrosion reduces fastening stability.
Using Low-Quality Tools
Professional tools improve both installation speed and consistency.
Avoiding these mistakes helps ensure a safer and longer-lasting installation.
Professional Tips to Install Stainless Steel Strapping More Efficiently
Experienced installation teams often complete projects faster by following several practical techniques.
Before arriving on site, organize all bands, buckles, and tools according to the installation sequence. This reduces unnecessary movement and shortens installation time.
Standardizing the installation process also improves consistency across different technicians and job sites.
If your projects involve installing multiple brackets on utility poles, preparing pre-cut stainless steel straps can further increase productivity.
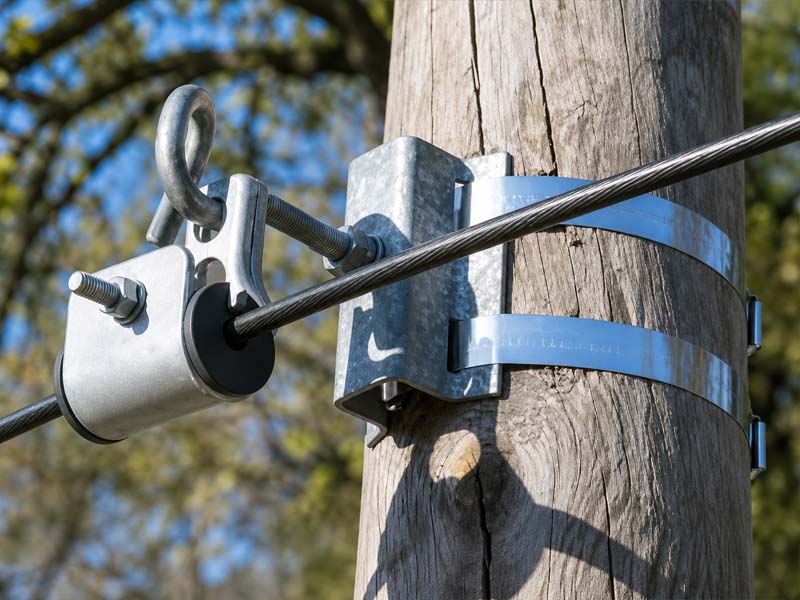
Finally, invest in high-quality stainless steel strapping and professional banding tools. Reliable materials reduce installation issues and lower long-term maintenance costs.
Choosing High-Quality Stainless Steel Strapping
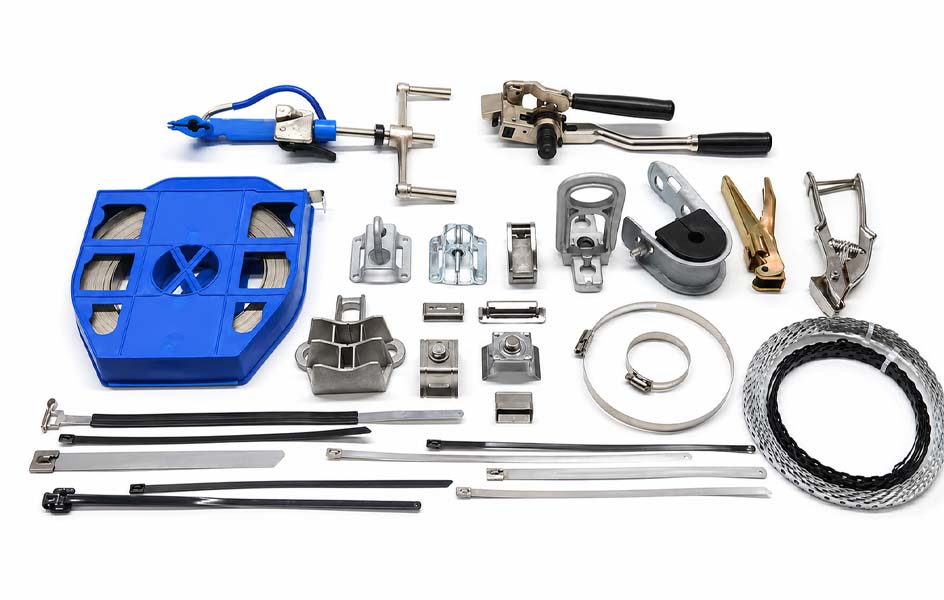
Even the best installation techniques cannot compensate for poor-quality materials.
When selecting a stainless steel strapping supplier, consider:
- Material certification
- Tensile strength
- Corrosion resistance
- Manufacturing consistency
- Available sizes
- OEM and private label capabilities
- Reliable production capacity
Working with an experienced manufacturer ensures consistent product quality and dependable performance across every installation.
Conclusion
Installing stainless steel strapping quickly and securely requires more than simply tightening a band around a pole. By selecting the correct material, preparing the installation surface, using professional banding tools, applying proper tension, and inspecting the finished installation, you can significantly improve efficiency while ensuring long-term reliability.
Whether you install pole line hardware, telecommunications equipment, traffic signs, or industrial brackets, following these best practices helps reduce maintenance costs, improve installation quality, and deliver more reliable results.
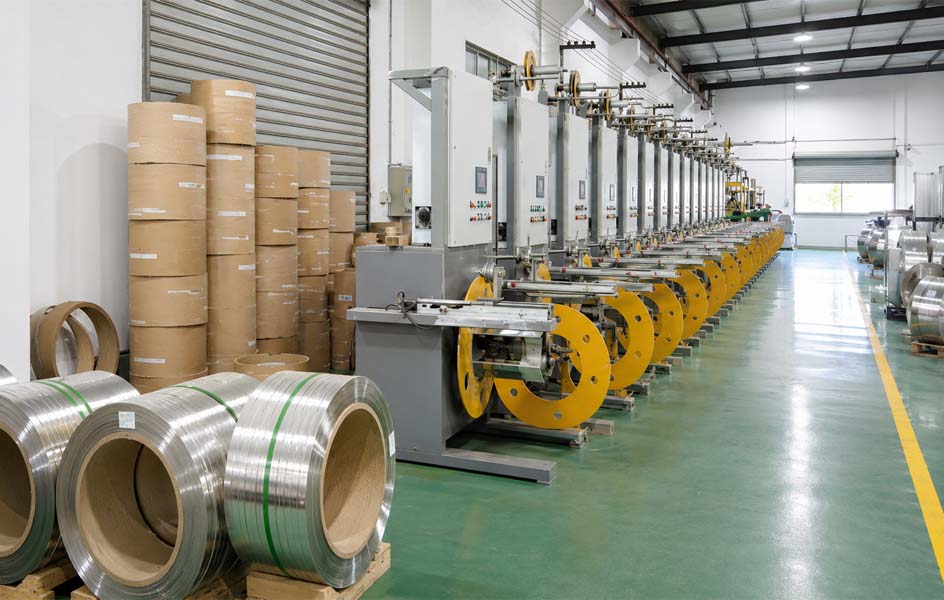
If you are sourcing stainless steel strapping for utility, telecommunications, or industrial applications, Hbcrownwealth is your trusted manufacturing partner. With years of experience in pole line hardware production, we provide high-quality stainless steel strapping, reliable global supply, and flexible OEM & ODM solutions to help distributors, wholesalers, and contractors grow their businesses with confidence.